| cloudflare ddns | ||
| images | ||
| inventory | ||
| roles | ||
| .gitignore | ||
| ansible.cfg | ||
| LICENSE | ||
| playbook.yml | ||
| README.md | ||
| requirements.yml | ||
| vault.yml | ||
Raspberry Pi IaC
Contains the Infrastructure as Code files which are used for provisioning my in house Raspberry Pi.
Prerequisites
The files within this repository should be run on a computer with Ansible installed which is only supported on MacOS and Linux systems. For Windows it can be run within a WSL distro (see this guide on how to set this up, make sure the repository is checked out on the WSL distribution itself).
Ansible control node prerequisites
-
Install Ansible (see instructions).
-
Install Ansible Galaxy content:
ansible-galaxy install -r requirements.yml -
Enter the vault password in the .vault_pass file. This is included in .gitignore so it shouldn't end up in the repository:
# Notice the space at the beginning, this prevents the shell from saving this command in its history.
 echo '[ -- enter vault pass here -- ]' > .vault_pass
Environment prerequisites
The Raspberry Pi IaC code contained within this repository provisions the Raspberry Pi itself but doesn't provision all surrounding infrastructure which is presumed to be managed by hand. The following relevant configuration is assumed:
- A prepared Raspberry Pi.
- Cloudflare should be setup for managing the domain records of kleinendorst.info.
Raspberry Pi preperation
The Raspberry Pi should be installed and running with reachable SSH from the network.
- Setup its MicroSD card using the Raspberry Pi Imager (download). For CHOOSE OS select the : Raspberry Pi OS (other) > Raspberry Pi OS Lite (64-bit) option.
- When asked: Would you like to apply OS customisation settings? select EDIT SETTINGS. Select and fill in the following settings:
- Set username and password
- Set locale settings
- Enable SSH > Use password authentication (we'll harden it later to use public keys).
- Disable Eject media when finished (probably not really important but I heard it could prevent problems on Windows).
- Start the Raspberry Pi with an ethernet cable attached.
- Find the assigned IP of the Raspberry Pi in the router and configure DHCP to statically asign this address to the Raspberry Pi.
- Add the new Raspberry Pi to the hosts file using the internal IP.
- Test if the Raspberry Pi is correctly configured by opening an SSH session to it (using its IP address). If this works the next step is to add SSH public keys for each computer that should provision/connect to the Raspberry Pi. It's important to perform this step before provisioning because that will disallow logging into SSH with a password.
Provisioning
Provision the Raspberry Pi by running:
ansible-playbook playbook.yml
Overview of installed software
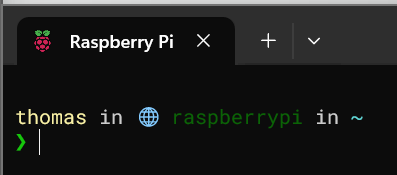
SSH with ZSH
It's possible to connect to the Raspberry Pi from the internal network via either its FQDN or IP address using a public key only setup as part of the Raspberry Pi preperation. When logged in the user will be prompted with the zsh configured with Oh My Zsh and Starhip prompts.